Pagan Craft

How to make Spell Protection Boxes 2
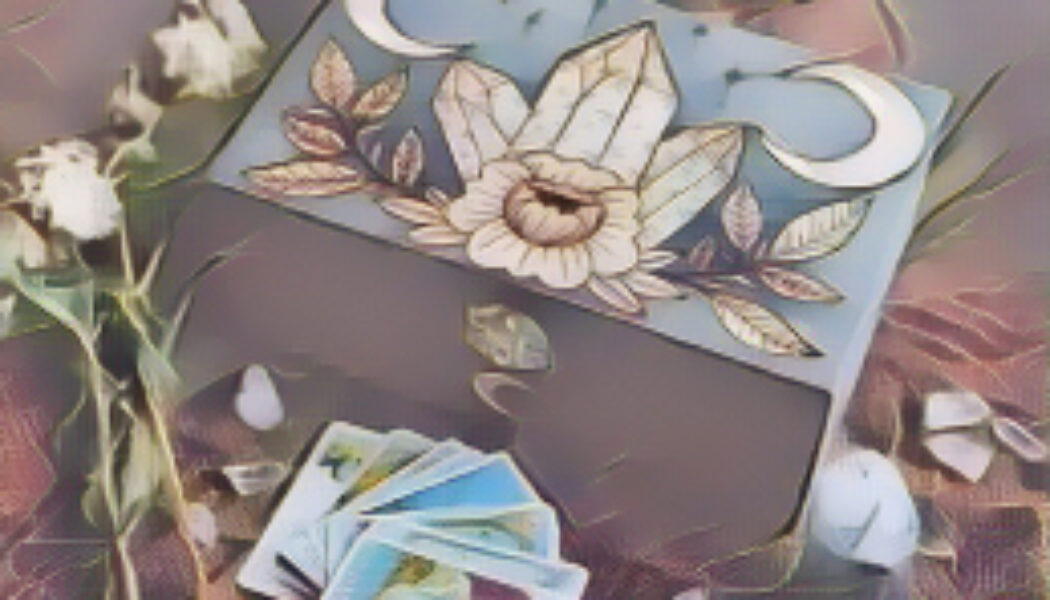
Protection Box You will need: heather,sage, pine or cedar incensea boxwhite wrapping papera sprig of ruea holly leafa tiger’s eye beada piece of dragons blood resinScotch tapea pen with red ink Light ...
How to make Spell Protection Box 1
Spells are cast by constructing a spell box, which are enclosed altars or tableaux. In general, a spell box is filled with power items necessary to achieve a goal, although you should follow direction...
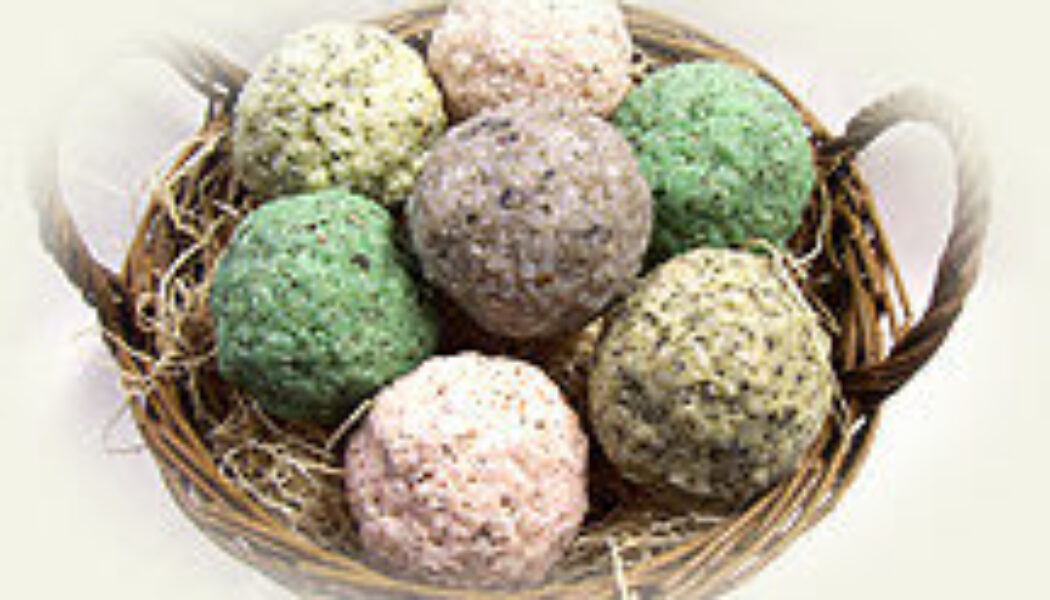

Ritual Soap Spheres 2
Here are some suggested blends for different magical intentions. Feel free to customize these recipes to suit your own needs and preferences. Isis Soap Combine 3 parts Myrrh, 2 parts Frankincense, and...
Ritual Soap Spheres 1
Ritual soap spheres are a beautiful and practical way to infuse your magical practice with intention, energy, and sensory delight. These handcrafted soaps are not only functional for cleansing the bod...
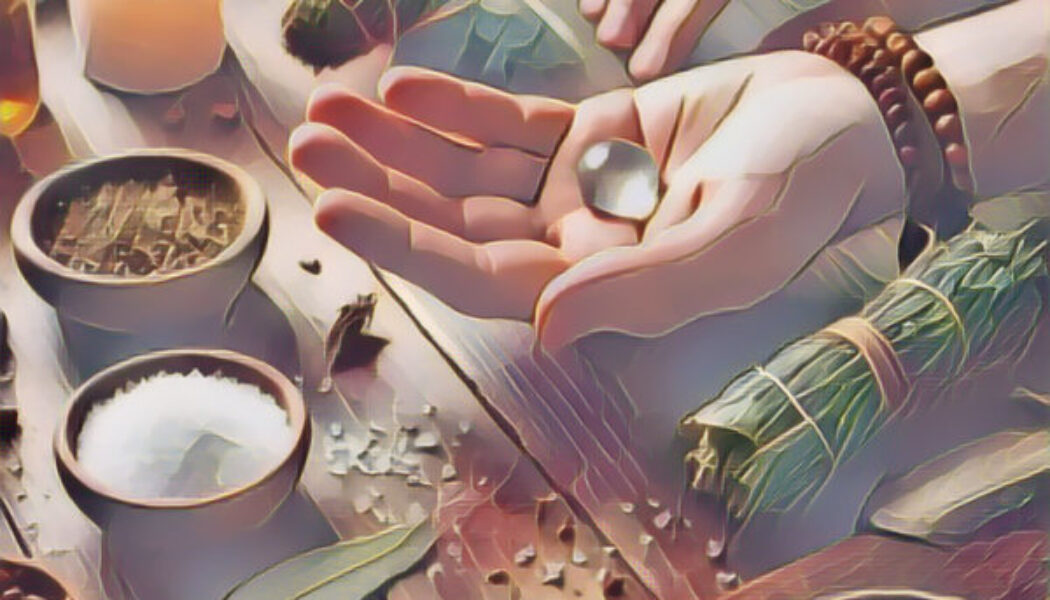

How to Create Your Own Talisman?
Talismans are special objects that people have used for centuries for protection, luck, and focus. You can make your own talisman to help you with your goals. Here’s a simple, step-by-step guide for b...


Making a Corn Dolly
Making a corn dolly is an ancient tradition used in harvest rituals to honor the spirit of the grain and bring blessings for the coming year. Corn dollies are simple figures made from the last sheaf o...

How To Make a Witch’s Ladder
The witch’s ladder is a traditional tool employed for meditation and ritual, serving a function similar to that of a rosary. It is designed to facilitate focus and intent, with various colors symboliz...

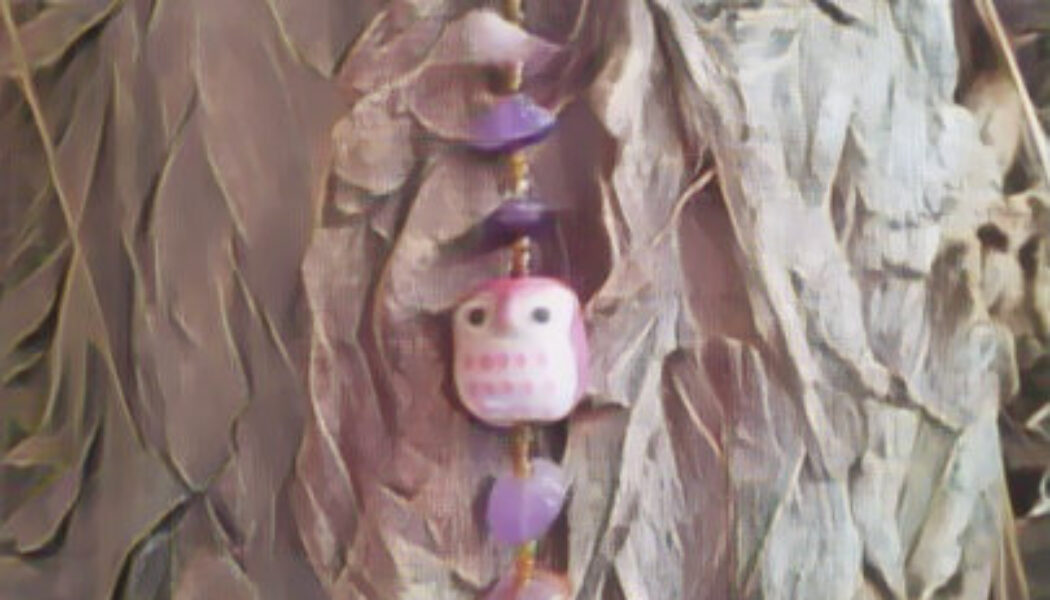
‘How to make a blessed necklace ‘
The following is a formal procedure for creating a blessed necklace. This ritual is structured to ensure clarity and efficacy. Adhere to each step precisely to imbue the necklace with intentional ener...


Bride-of-the-Sun Salve
Bride-of-the-Sun Salve is a simple herbal remedy. It uses sun-loving plants to help heal and protect your skin. Follow these easy steps to make your own salve. Step 1: Gather your ingredients. You wil...

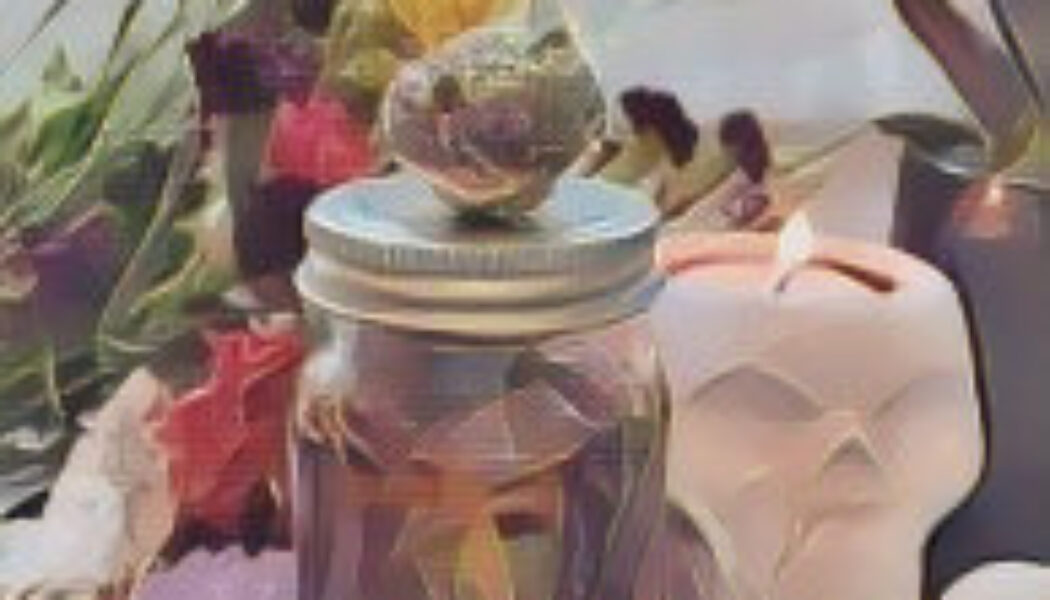
Luck & Prosperity Jar
Throughout history, people from all walks of life have created charms and talismans to attract luck and prosperity. One of the simplest and most effective of these is the luck jar—a small vessel fille...


How to Make a Witches Ladder
The witch’s ladder is a simple yet powerful tool in folk magic, used for intentions such as protection, healing, or manifesting your desires. Let’s walk through the process step by step, so even if yo...

Magical welcome doormat
here is how to make a simple protective doormat charm. This may be a good beginner ritual to help keep your home safe and invite good energy. Here’s what you’ll need: Now, let’s get started. Follow th...
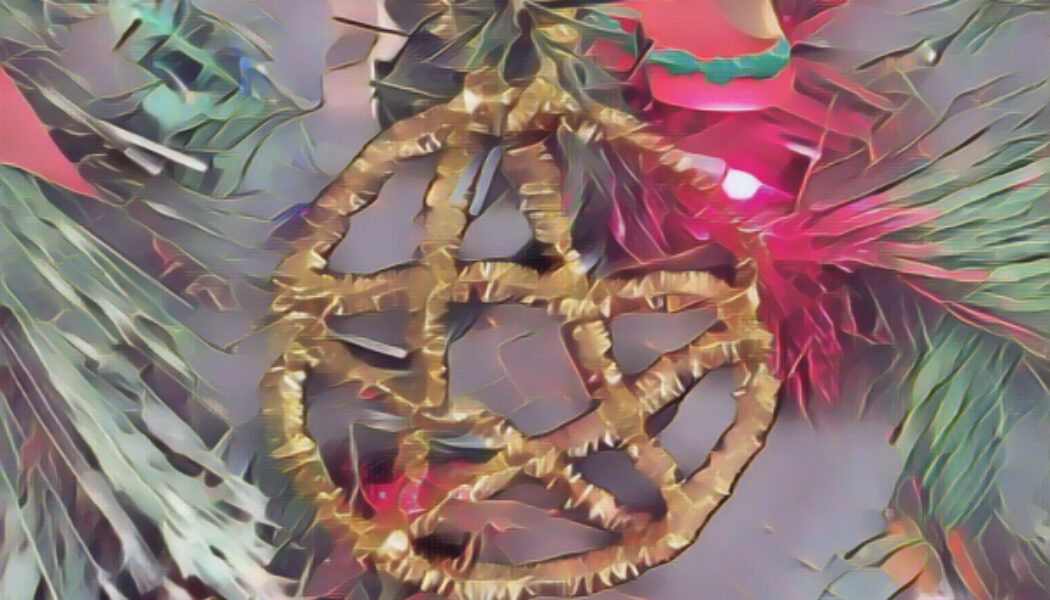

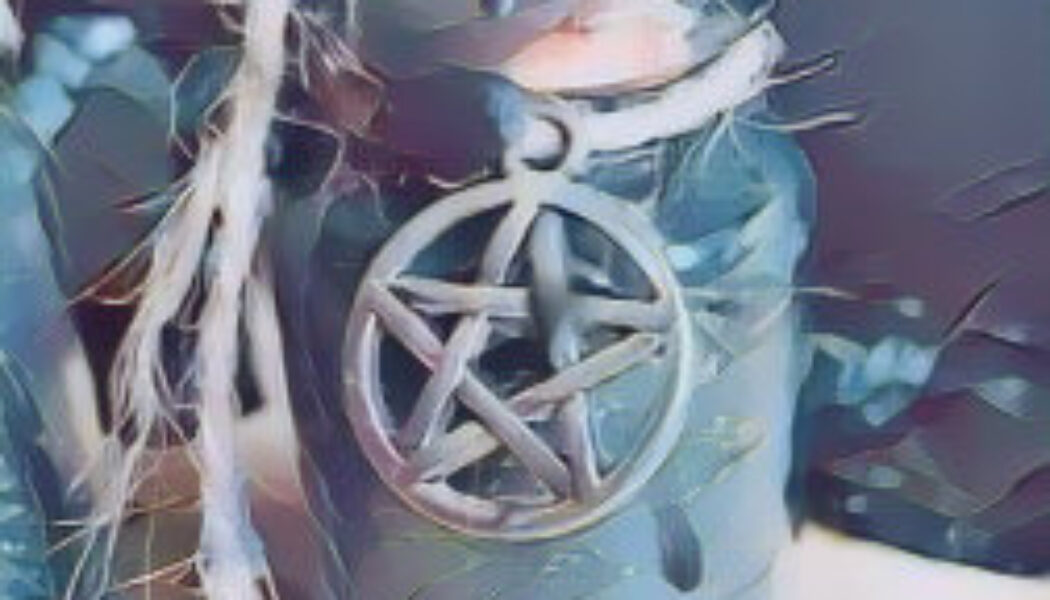
Easy Pipe cleaner Pentacle Ornaments
Easy Pipe Cleaner Pentacle Ornaments are a wonderful craft for beginners and experienced witches alike. Not only are they simple to make, but they also carry deep symbolism, representing the five elem...
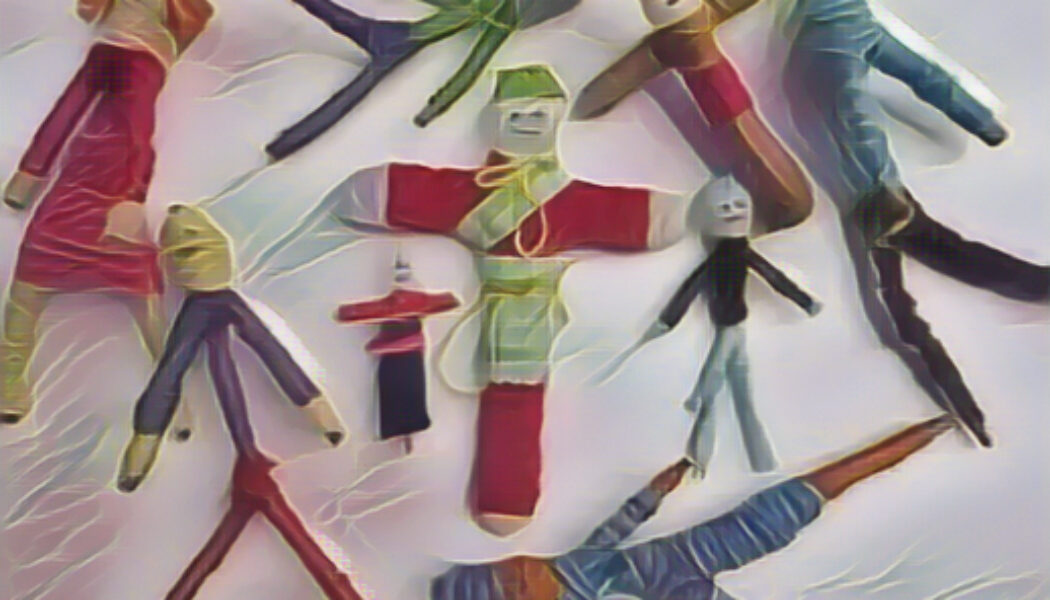

How to make a Set of Worry Dolls
How to make a Set of Worry Dolls Worry dolls are a traditional tool from Central America, often used by children, but adults can benefit from them as well. According to legend, if you tell your worrie...

Creating A Witches’ Inspiration Jar
Creating A Witches’ Inspiration Jar. Step 1: Gather all necessary supplies. You will need: The color orange symbolizes creativity and energy. A deep orange fosters strong, profound creativity, w...

Creating Sacred Salt Jar
Creating Sacred Salt Jar. Step 1: Select an appropriate container. Choose a covered stone or earthen jar for grounding properties, or a glass jar with a secure lid if you prefer visibility of the cont...
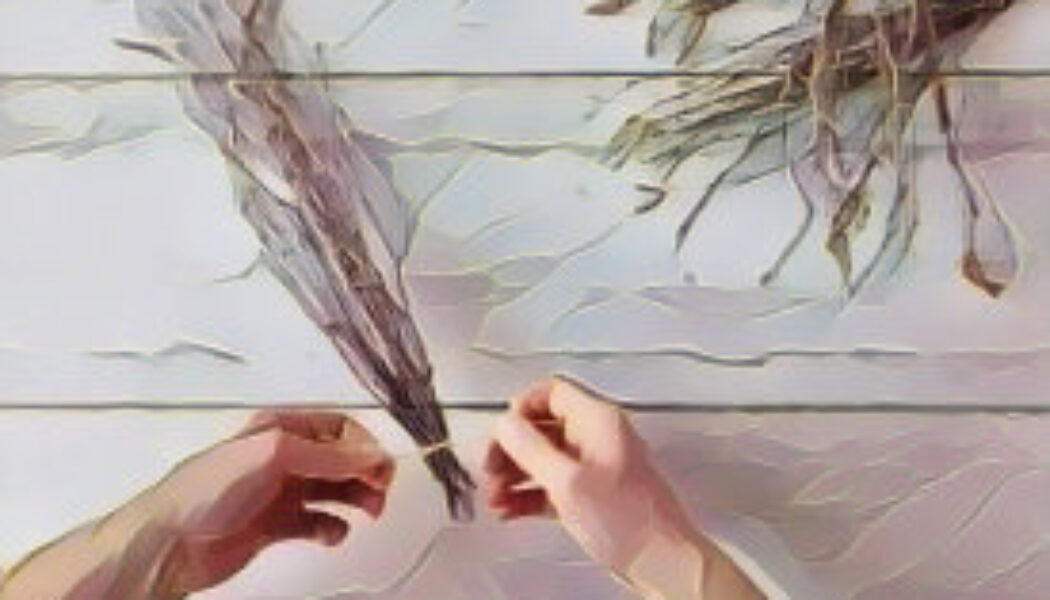

Creating a Simple Besom
Creating a Simple Besom. The besom, or witch’s broom, is a traditional tool for both physical and spiritual cleansing. Making your own besom is a meaningful ritual that connects you to the land and th...

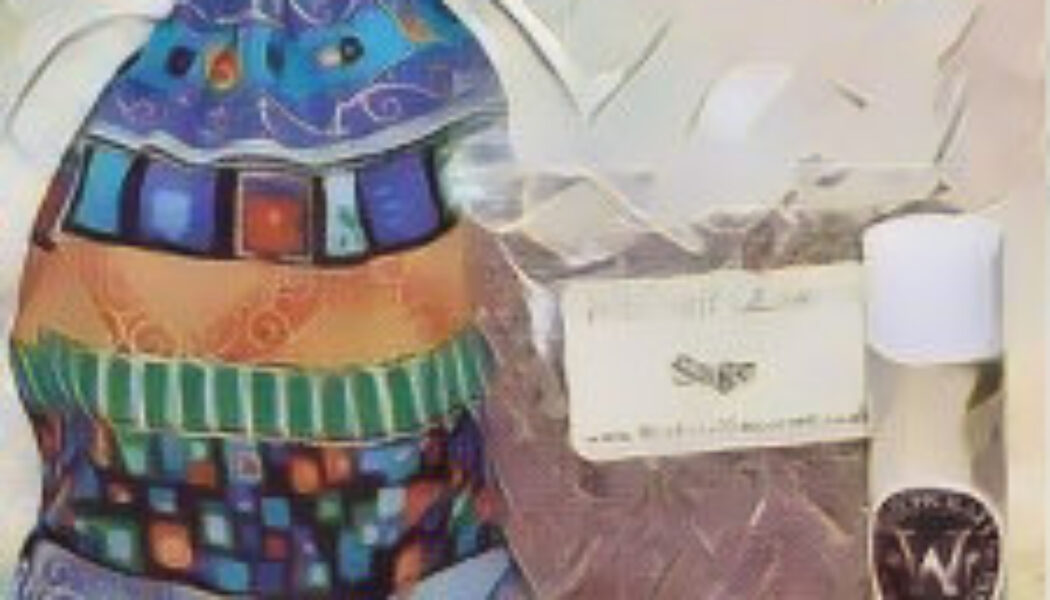
Creating a Witches Good Luck Sachet
Creating a Witches Good Luck Sachet. Creating a Witch’s Good Luck Sachet is a simple and meaningful way to invite positive energy, fortune, and protection into your life. In this guide, I will walk yo...

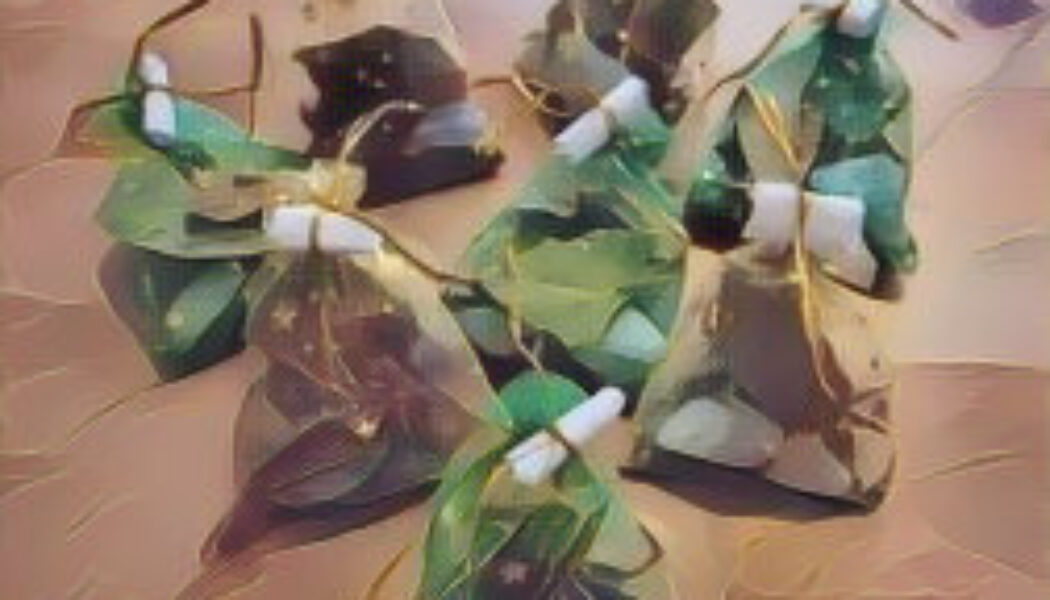
Creating Coloured Sachets For s
Creating Coloured Sachets For Rituals. Creating coloured sachets for rituals is a simple and meaningful craft. Here is a straightforward guide to making your own ritual sachets. Begin by choosing a na...
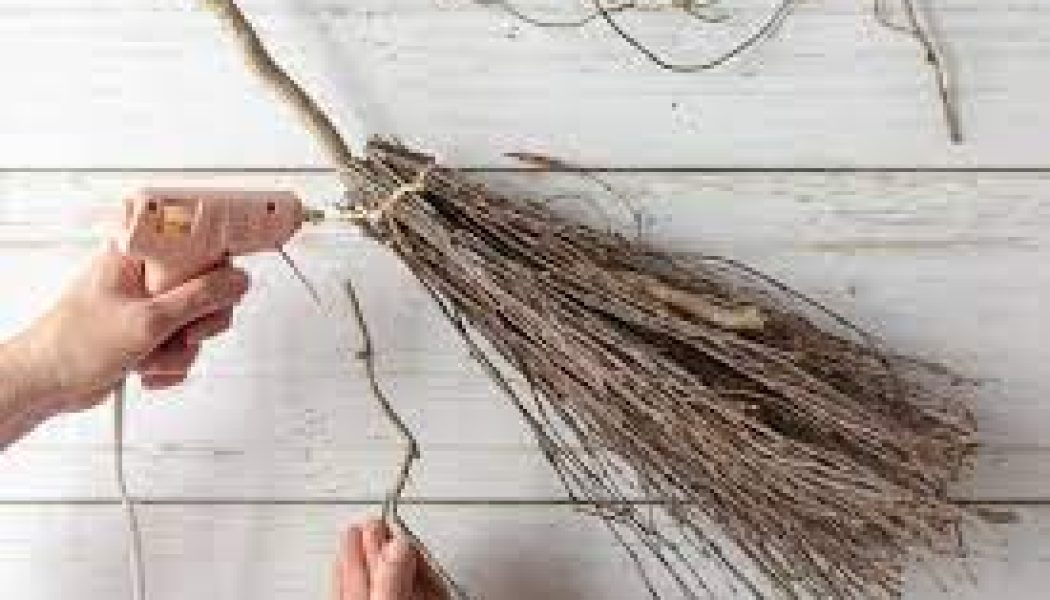

Creating Your Own Besom
Creating Your Own Besom. While you can easily buy a broom, making your own besom from natural materials is a deeply meaningful and empowering experience. This process connects you to the earth and the...